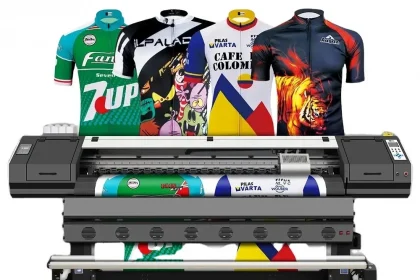
Are you a scientist or researcher looking to present your work in a visually appealing and professional manner? Fabric posters are a fantastic way to showcase your research findings at conferences, seminars, or in your lab. They are durable, easy to transport, and can be reused multiple times. In this blog post, I will guide you through the process of creating a stunning scientific fabric poster that will grab attention and effectively communicate your research.
Choosing the Right Design Software
The first step in creating a Scientific Fabric Poster is choosing the right design software. Adobe Illustrator and InDesign are popular choices among researchers for creating scientific posters due to their flexibility and high-quality output. If you’re on a budget, you can also use free software like Canva or Google Slides, which offer a range of templates and design tools.
Selecting the Right Template
Once you have selected your design software, the next step is to choose a template for your fabric poster. Most design software platforms offer pre-designed templates specifically for scientific posters. These templates are typically formatted to the standard scientific poster size (e.g., 48×36 inches) and include placeholders for text, figures, and images.
Organizing Your Content
Before you start designing your fabric poster, it’s essential to organize your content. Divide your poster into sections such as Introduction, Methods, Results, Discussion, and Conclusion. Make sure to highlight key findings and use visuals like graphs, charts, and images to make your poster more engaging and informative.
Designing Your Fabric Poster
When designing your fabric poster, keep in mind that less is more. Avoid cluttering your poster with too much text or unnecessary design elements. Use a clean and cohesive layout, with a clear hierarchy of information. Choose a color scheme that complements your research topic and ensures readability from a distance.
Incorporating Visuals
Visual elements are crucial for capturing the attention of viewers and conveying information quickly. Use high-quality images, graphs, and charts to visually represent your data. Make sure all visuals are easy to read and understand, even from a distance. Incorporate white space in your design to prevent overcrowding and improve readability.

Adding Text
When adding text to your fabric poster, keep your writing clear, concise, and to the point. Use bullet points and short paragraphs to convey information effectively. Make sure your text is legible from a distance by using a font size of at least 24 points for body text and 36 points for headings. Proofread your content carefully to avoid any typos or grammar errors.
Printing Your Fabric Poster
Once you have finalized your design, it’s time to print your fabric poster. Many online printing services offer fabric printing for scientific posters. Make sure to select a high-quality fabric material that is wrinkle-resistant and durable. Consider adding a carrying case for easy transport and storage.
Presenting Your Poster
When presenting your fabric poster, make sure to set it up in a well-lit and visible location. Be prepared to explain your research to viewers and engage in discussions about your findings. Consider creating handouts or digital copies of your poster to distribute to interested parties.
The Bottom Line
Creating a stunning scientific fabric poster requires careful planning, design skills, and attention to detail. By following the tips outlined in this blog post, you can create a visually appealing and informative poster that effectively communicates your research findings. Remember to keep your design clean and concise, use visuals to enhance your message, and present your poster confidently to make a lasting impression on your audience.


