Stickers can be fun, expressive, and a fantastic way to showcase your creativity. But creating a design that stands out and captures attention can be challenging. Whether you’re designing stickers for your business, a special event, or just for fun, it’s important to know the key elements that make a design truly pop.
In this blog post, we’ll dive into the art of crafting visually appealing stickers. From choosing the right colors and fonts to understanding the impact of shapes and sizes, we’ve got you covered.
So, grab your favorite sketchbook or open up your design software, and let’s get started on making stickers that turn heads and leave a lasting impression!
Understanding the Basics of Sticker Design
Before diving into complex designs, it’s crucial to grasp the fundamentals of sticker design. The basics will set the foundation for your creativity and ensure your stickers look professional and polished.
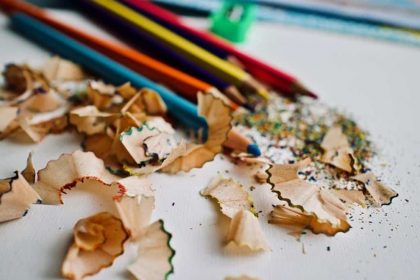
Choosing the Right Colors
Colors are the first thing people notice. Using a vibrant palette can make your stickers more attractive, but don’t go overboard. Stick to a limited color scheme that aligns with your message or brand identity. Remember, the right combination can make your design memorable.
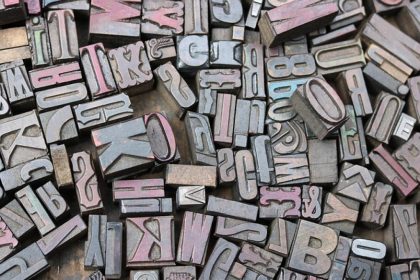
Selecting Fonts and Typography
Fonts play a significant role in conveying your message. Choose fonts that are easy to read and match the theme of your design. Mixing too many fonts can make your sticker look cluttered. Stick to one or two complementary fonts for a clean look.
Shapes and Sizes Matter
The shape and size of your sticker can dramatically impact its appeal. Think about where your stickers will be used and choose shapes that complement their environment. Custom shapes can add uniqueness but ensure they still serve the purpose effectively.
By mastering these basic principles, you’ll be well on your way to creating eye-catching stickers that stand out in any setting. Ready for the next steps? Stay tuned!
Choosing the Right Colors and Fonts for Impact
When designing stickers, colors and fonts are your best friends. They can make or break your design, so choosing them wisely is key.
Start by considering the emotions you want to evoke. Bright, bold colors can grab attention and convey energy, while softer hues might suggest calmness or elegance. It’s all about the vibe you’re going for.
Next up, compatibility. Your colors should not only look good together but also suit the overall theme of your design. Tools like color wheels can help you find harmonious combinations effortlessly.
Fonts are just as crucial. The style and size of your text should complement your design and be easily readable. Think about the personality of your sticker—playful, serious, elegant? Your font choice should reflect that.
Lastly, test your choices. Sometimes what looks good on screen might not translate well to print. Always do a sample print to see how your colors and fonts come out in the real world.
By thoughtfully selecting colors and fonts, you can create stickers that are not only visually appealing but also communicate your message effectively.
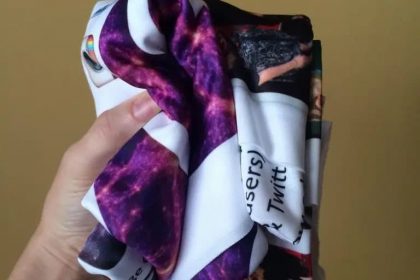
Utilizing High-Quality Images and Graphics
Images and graphics can really elevate your sticker design, making it stand out and look professional. But there’s a catch: quality matters, big time.
First, always go for high-resolution images. Blurry or pixelated visuals can ruin an otherwise fantastic design. Crisp, clear images catch the eye and show off your attention to detail. You may also use third party AI software to enhance your file resolution as well.
Next, consider the relevance of your graphics. They should align with the message or theme of your sticker. Random images might confuse people, but well-chosen graphics can reinforce your message and make it more memorable.
Don’t forget about scalability. Your stickers might be printed in various sizes, so your images and graphics should look great whether they’re small or large. Vector images are a great choice because they can be resized without losing quality.
Lastly, be mindful of copyright issues. Always use images and graphics that you have permission to use, whether they’re your own creations, stock images, or royalty-free graphics. This ensures you don’t run into legal troubles down the line.
Using quality images and graphics can make your stickers pop and ensure they leave a lasting impression. So, invest some time in selecting or creating visuals that truly enhance your design.
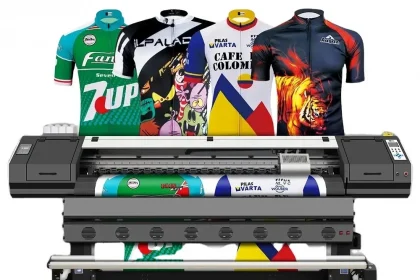
Ensuring Compatibility with Printing Methods
When it comes to printing your stickers, compatibility is key. Not all designs work with every printing method, so it’s essential to know your options.
Firstly, communicate with your printer. Each printer might have different requirements and capabilities. They can offer guidance on the best formats, colors, and materials for your design.
Secondly, understand the difference between digital and offset printing. Digital printing is great for small batches and quick turnarounds, while offset printing might be better for larger quantities. Each method has its own nuances, so choose the one that fits your needs.
Resolution and format are crucial, too. Ensure your design files are in the right resolution—usually 300 DPI—and save them in a universally accepted format like PDF or PNG. This helps your design come out exactly as you envision it.
Color accuracy can be another challenge. RGB colors might look amazing on your screen but appear different when printed. To avoid surprises, convert your color scheme to CMYK before sending it to the printer. This will give you a more accurate preview of how your colors will look in real life.
Finally, think about any special finishes. Whether you want a glossy, matte, or even a holographic finish, make sure it’s compatible with the specifics of your design and chosen printing method. Special finishes can add a unique touch but require careful planning.
By ensuring compatibility with your printing methods, you can achieve a polished, professional look that truly shines. So, take the extra steps to understand and prepare for the printing process.
Enhancing Designs with Creative Finishing Touches
Alright, now let’s talk about those final touches that can elevate your sticker design from good to show-stopping.
First up, foil stamping. This can add a shiny, metallic finish to certain parts of your design, making it pop. Think gold or silver accents that catch the light and draw attention.
Embossing is another fantastic option. This technique raises certain elements of your design, giving it a three-dimensional feel. It’s perfect for highlighting logos or key details.
Spot UV coating is a favorite for adding a glossy finish to specific areas of your sticker. This can create a striking contrast against a matte background, emphasizing areas like text or images.
Don’t forget about die-cut shapes. Instead of the usual squares or circles, consider custom shapes that contour to your design. This adds visual interest and makes your stickers more memorable.
Lastly, consider adding texture. Materials like holographic or glitter paper can make your stickers not just look unique but feel unique too. A tactile experience can leave a lasting impression.
These creative finishing touches can make a huge difference. So, unleash your imagination and see how you can surprise and delight with your sticker designs.
The Bottom Line: Expert Tips for Creating Stunning Sticker Designs
To wrap things up, remember the essentials. Start with a solid concept that resonates with your target audience. Take your time in the planning stage to ensure every element aligns with your brand’s message.
Embrace minimalism. Less often equals more when it comes to visual impact. Focus on clean lines, contrasting colors, and readable fonts to create a memorable design without overwhelming the viewer.
Think about the quality of your materials. High-quality paper and adhesive are just as important as your design. Your stickers should look good and stand the test of time, whether they’re stuck on laptops, notebooks, or cars.
Don’t skimp on those creative finishes. Whether it’s foil stamping, embossing, spot UV coating, custom shapes, or textured materials, the right finishing touch can make your stickers truly unforgettable.
Always test before you print large quantities. Print a few samples to ensure colors are vibrant, text is clear, and the overall look is exactly what you envisioned. This can save you time, money, and a lot of frustration.
Finally, have fun with it! Sticker design is a fantastic way to express creativity, enhance your brand, and engage with your audience in a very tangible way. Experiment with different ideas and don’t be afraid to try something new.
In summary, stunning sticker designs come from a mix of thoughtful planning, quality materials, and those little finishing touches that make a big difference. Follow these expert tips, and you’ll be well on your way to creating stickers that people love to see—and are eager to stick just about everywhere.