Ever felt frustrated trying to fold a piece of paper into three equal parts, only to end up with uneven edges and a crumpled mess? Don’t worry, you’re definitely not alone. Many of us struggle to get that perfect trifold, but it’s actually easier than you think!
With a few simple tricks, you can master the art of trifolding paper quickly and efficiently. Whether you’re sending out invitations, creating brochures, or simply organizing documents, these steps will save you time and hassle.
Wondering where to start? This guide will walk you through each step clearly and simply, so you can achieve a flawless fold every time. Let’s dive in and make those paper-folding woes a thing of the past!
Understanding the Basics of Paper Trifolding
Before diving into the process, it’s important to understand what trifolding is. Simply put, trifolding involves folding a piece of paper into three equal sections, making it compact and easy to handle.
Why Trifold?
Trifolding is commonly used for letters, brochures, and flyers. It ensures that your paper fits neatly into standard envelopes and adds a professional touch to your documents. Plus, it makes your presentations look polished and organized.
The Golden Rule: Precision
The key to trifolding efficiently is precision. Using the right tools and techniques ensures that each fold is straight and even. A ruler, a flat surface, and a bit of patience go a long way.
To achieve a perfect trifold, you’ll need to understand the basic measurements and placements. Typically, an 8.5” x 11” sheet of paper is folded into three 3.67” sections. Keeping these measurements in mind helps maintain uniformity.
In the next section, we’ll get hands-on with a step-by-step guide to achieve those flawless folds. Stay tuned!
Choosing the Right Type of Paper for Trifolding
Selecting the right paper can make a huge difference in how your trifolds turn out. Different types of paper not only affect the appearance but also the durability of your folds.
Paper weight chart reference.
Paper Weight and Thickness
First, consider the weight and thickness of the paper. Lightweight paper (like 20 lb) is easy to fold but might look flimsy. Heavier paper (like 24 lb or 28 lb) gives a more professional feel and tends to hold the fold lines better. However, if it’s too thick, it might be tough to crease neatly.
Smooth vs. Textured Paper
Next, think about the texture. Smooth paper is often best for printing detailed images and text as it results in clearer prints. Textured paper, such as linen or laid, can add a luxurious touch but might be more difficult to fold cleanly.
Colored or patterned paper can make your trifold eye-catching, but be mindful of how it works with the content you’re printing. Dark or very busy patterns might make text hard to read.
Specialty Paper
If you want to go a step further, specialty papers like glossy or matte finishes can give your document a unique look. Glossy paper is great for pictures and graphics, while a matte finish can offer an elegant, subdued appearance.
In the next section, we’ll delve into the actual process of folding and provide some pro tips to ensure your trifolds turn out perfect every time!
Step-by-Step Instructions on Trifolding Paper Efficiently
Ready to start folding? Let’s dive into the simple steps to create a perfect trifold.
First, place your paper face-up on a flat surface. Make sure it’s aligned properly. If you have a ruler, you can lightly mark the spots where the folds will be. For a standard 8.5×11-inch paper, the marks should be at approximately 3.67 inches and 7.33 inches from the edge.
Now, take the right side of the paper and fold it towards the left, aligning the edge with the first mark you made. Press down firmly along the crease, ensuring it’s straight.
Next, fold the left side of the paper over the folded right side. Align the edge with the second mark. Again, press firmly along the crease. This will give you a neat and tidy trifold.
To make the crease sharper, you can use a bone folder or the edge of a ruler. This helps in creating a more professional look, especially if you are using thicker paper.
Tips and Tricks for Perfecting Your Paper Trifolding Technique
So, you’ve got the basic trifold down, but want to take it up a notch? Here are some handy tips and tricks to make your trifolds look even more impressive.
First, always use a flat, clean surface to fold your paper. This prevents any unwanted creases or marks. If you’re working on a table that isn’t smooth, place a magazine or another flat object underneath your paper.
Precision is key. To ensure your folds are exact, use a ruler to create light pencil marks where each fold should be. This extra step can make a big difference, especially if you’re trifolding several sheets.
Try using a bone folder. This tool is excellent for making sharp, clean creases without damaging your paper. If you don’t have one, the edge of a plastic card works well too.
Another trick is to pre-score your fold lines. Lightly run a blunt knife or the edge of a ruler along the fold marks before making your folds. This helps the paper to fold easily and evenly.
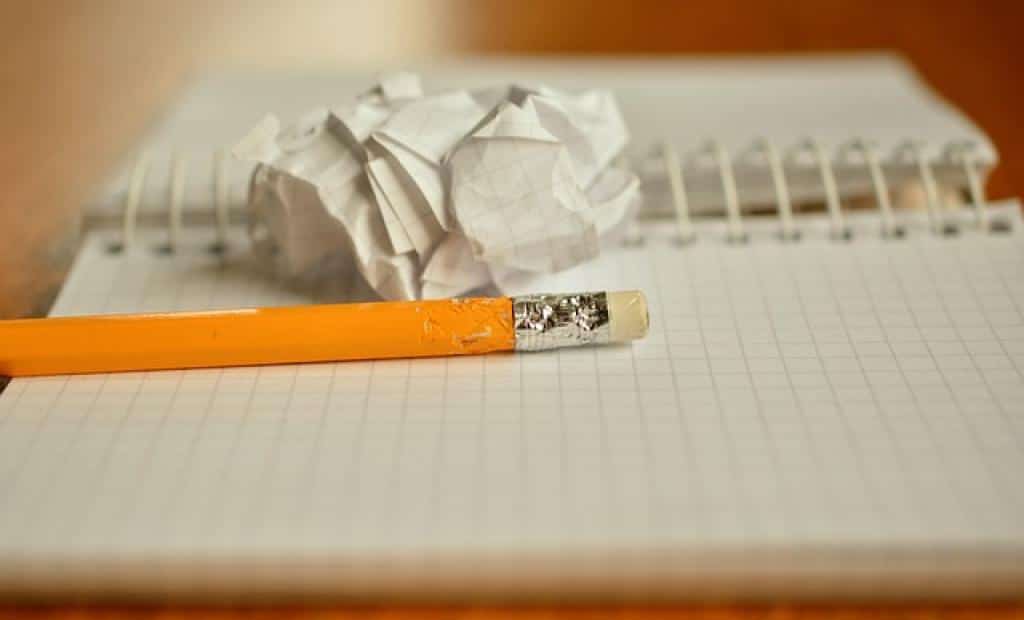
To avoid any visible pencil marks, use an eraser to gently remove them after you’ve completed your folding. Just be careful not to smudge your beautiful work!
Finally, practice makes perfect. The more you fold, the more refined your technique will become. So grab some paper and keep at it.
Remember, a little bit of patience and attention to detail can go a long way toward achieving that flawless trifold. Happy folding!
Conclusion: Mastering the Art of Trifolding Paper
Trifolding paper might seem like a small task, but as we’ve explored, it can make a big difference in presenting your information neatly and professionally. Whether you’re preparing brochures for a business meeting, organizing a leaflet for an event, or simply crafting an envelope, mastering this technique elevates your paper projects.
By following a few straightforward steps, using the right tools, and practicing precision, you can achieve clean and crisp folds every time. Remember those helpful tips like working on a flat surface, using a ruler for guidance, and employing tools like a bone folder to enhance your trifolding skills.
Transitioning from basic to more advanced techniques, such as pre-scoring paper before folding, adds to the quality of your output. Additionally, taking the time to erase any pencil marks and correct any errors along the way results in a polished final product.
Ultimately, trifolding paper is both an art and a science. It requires patience and a keen eye for detail, but with some practice, it becomes second nature. Whether you’re doing it for personal projects or professional presentations, a well-executed trifold shows that you care about the finer points of your work.
So, next time you need to fold a piece of paper into three equal parts, remember these guidelines and tips. With a little bit of effort and attention to detail, you’ll master the art of trifolding in no time. Happy folding!