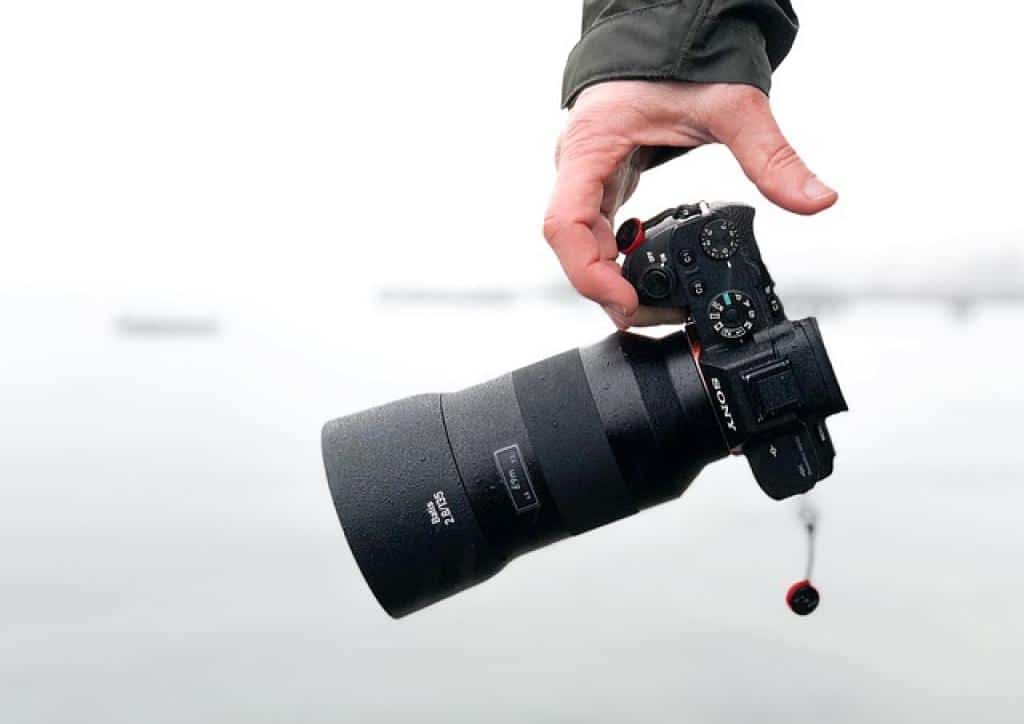
Ever wondered how some photos look like they belong in a gallery? The secret often lies in digital imaging—a blend of techniques to refine and transform your snapshots into stunning visual masterpieces. Whether you’re a hobbyist or someone dipping their toes into the world of photography, enhancing your photos doesn’t have to be daunting.
In this guide, we’ll dive into simple yet effective methods to elevate your images. From basic adjustments like brightness and contrast to more advanced techniques like retouching and compositing, you’ll discover tools and tips that bring your pictures to life.
Imagine tweaking colors, removing blemishes, or even adding a dramatic sky to your landscape shots. The possibilities are virtually endless. Ready to turn your ordinary photos into extraordinary pieces of art? Let’s get started!
Understanding the Basics of Digital Imaging
So, what exactly is digital imaging? At its core, digital imaging involves the creation and manipulation of visual content using digital tools. Think of it as a modern-day darkroom, where you can adjust, alter, and enhance photos with the click of a mouse.
Pixels and Resolution
First, let’s talk pixels. Every digital image is made up of tiny squares called pixels. The more pixels an image has, the higher its resolution, which means finer detail and clarity. For example, an image with 3000×2000 pixels will generally look sharper than one with 800×600.
File Formats
Next up, file formats. JPEGs are great for everyday photos, thanks to their small file size and decent quality. However, if you need higher quality for professional projects, RAW files retain more detail and offer greater flexibility during editing.
Basic adjustments like brightness, contrast, and color balance are the building blocks of a good photo. Tools like cropping and rotating can help frame your subject better. Learning how to use these basic functions effectively can make a world of difference in your final image.
Understanding these fundamentals will set a solid foundation for any photographer. Ready to delve deeper? Let’s explore more advanced techniques next!
Choosing the Right Editing Software for Your Needs
Deciding on the perfect editing software can feel overwhelming, but worry not! Let’s break it down so you can find the best fit for your needs.
First, consider your skill level. If you’re just starting out, beginner-friendly programs like Adobe Photoshop Elements or Canva offer intuitive interfaces and plenty of tutorials to get you up to speed. They’re great for learning the ropes without feeling overwhelmed by advanced features.
On the other hand, if you’re more experienced or willing to take the plunge, professional-grade software like Adobe Photoshop and Lightroom offer robust tools that can handle complex editing tasks. These programs provide more control over details like layers, masks, and advanced color corrections.
Budget is another factor. Free options like GIMP and Pixlr offer powerful features without costing a penny. They might not have all the bells and whistles of premium software but can still get the job done for most editing tasks.
Lastly, think about what you plan to do with your edited images. If social media is your jam, mobile-friendly apps like Snapseed and VSCO are perfect for quick edits on the go. For printing high-quality photos or working with large image files, desktop software will serve you better.
With all these options, there’s definitely a perfect match for everyone. Happy editing!
Mastering Photo Composition Techniques
Getting the perfect shot isn’t just about having a fancy camera or great lighting. It’s also about mastering the art of photo composition. Let’s dive into some key techniques to help you elevate your photography game.
The Rule of Thirds
One of the basics is the Rule of Thirds. Imagine your photo divided into nine equal parts by two horizontal and two vertical lines. Position the most important elements along these lines or at their intersections. This simple trick instantly makes your photo more balanced and engaging.
Leading Lines
Leading lines guide the viewer’s eye through your photo. These can be anything from roads and rivers to fences or even shadows. By incorporating leading lines, you can create a sense of depth and draw attention to the focal point of your image.
Another handy tip is to use framing. Look for natural frames like windows, doorways, or branches to enclose your subject. This technique adds layers to your photo and makes the subject stand out more effectively.
Don’t forget to play with perspective. Try shooting from different angles—high, low, or even sideways. Changing your viewpoint can turn an ordinary shot into something extraordinary, offering a fresh and unique perspective.
Lastly, keep an eye on the background. A cluttered or distracting background can take the focus away from your main subject. Opt for simple, unobtrusive backgrounds to make your subject truly shine.
With these composition techniques in your toolkit, you’re well on your way to capturing stunning, professional-looking photos. Now, go out there and start shooting!

Optimizing Images for Different Platforms
Once you’ve mastered photo composition, it’s time to think about how your images will look on various platforms. Different platforms have different requirements, so optimizing your images is key to ensuring they look their best everywhere.
Size Matters
First, consider the size of your images. Social media platforms like Instagram, Facebook, and Twitter each have their own optimal image dimensions and aspect ratios. For example, Instagram works best with square images (1080×1080 pixels), while Facebook cover photos should be 820×312 pixels. Make sure to resize your images according to the platform to avoid awkward cropping or pixelation.
File size is equally important. Large image files can slow down website loading times, driving visitors away. Use image compression tools like TinyPNG or JPEGmini to reduce file size without sacrificing quality. For websites, aim to keep your image file size under 200KB.
Choose the Right Format
Choosing the right image format is another crucial step. JPEGs are great for photographs and offer a good balance of quality and file size. PNGs are better for images with transparent backgrounds or text, as they maintain higher quality but come with larger file sizes. For graphics and simple images, consider using SVGs; they are scalable and lightweight, making them perfect for logos and icons.
Alt text is essential for web images. This not only improves your site’s accessibility for visually impaired users but also provides better SEO. Be descriptive in your alt text to make your images work harder for you in search engines.
Lastly, always test your images. Check how they appear on different devices and platforms before making them live. Sometimes, what looks good on a desktop might not look as great on mobile or tablet.
By optimizing your images for different platforms, you ensure they look professional and engaging, no matter where they are viewed. Happy posting!
The Bottom Line: Enhancing Your Photos Like a Pro
So, what’s the takeaway? Enhancing your photos like a pro doesn’t have to be complicated. With a few easy steps, you can significantly improve the quality and impact of your images.
First, focus on composition. Pay attention to framing, lighting, and the rule of thirds. These basics can instantly make your photos more compelling and aesthetically pleasing.
Next, leverage the power of editing tools. Whether it’s brightening a photo, adjusting contrast, or adding a filter, editing can make a world of difference. But remember, less is often more—subtle adjustments usually yield the best results.
Don’t overlook the importance of optimizing images for different platforms. From resizing and compressing to choosing the right format, these small tweaks ensure your images look great and load quickly, no matter where they’re viewed.
Finally, always test your images on various devices. What works on a desktop might look entirely different on a smartphone. Testing helps maintain a consistent and professional appearance across all screens.
Armed with these tips, you’re now ready to take your photos to the next level. Remember, practice makes perfect. So, keep experimenting and refining your skills.
Your audience will undoubtedly appreciate the effort you put into enhancing your photos. Whether you’re a blogger, a small business owner, or simply a social media enthusiast, better photos can make a lasting impact.
Happy snapping!


