Creating your own canvas art prints at home is a fantastic way to add a personal touch to your living space. Not only is it a fun and creative activity, but it also allows you to tailor the artwork to perfectly suit your style and preferences. In this blog post, I’ll guide you through the process of creating stunning canvas art prints from the comfort of your own home.
Materials You’ll Need
Before we dive into the creative process, let’s gather the necessary materials to bring your masterpiece to life. Here’s what you’ll need:
Canvas
First and foremost, you’ll need a canvas to serve as the foundation for your art. Choose a canvas size that fits the space where you intend to display your artwork.
Acrylic Paints
Acrylic paints are versatile and easy to work with, making them ideal for creating canvas art prints. Invest in a set of high-quality acrylic paints in various colors to unleash your creativity.
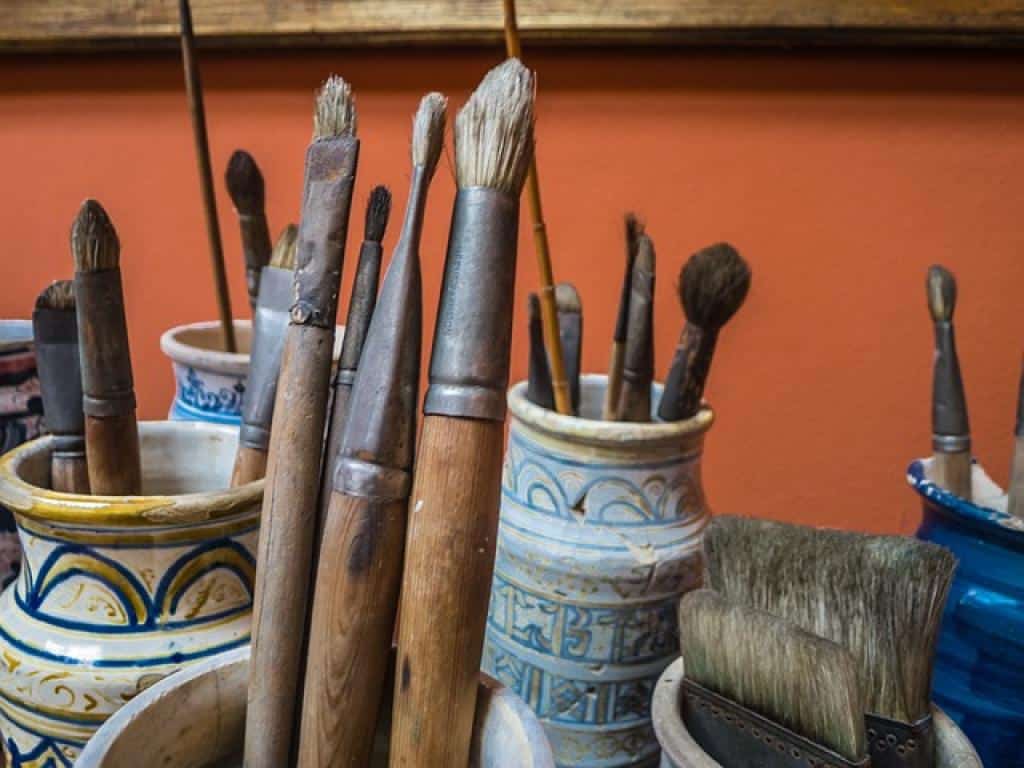
Paintbrushes
A variety of paintbrushes in different sizes will allow you to add fine details and textures to your artwork. Make sure to have a few different brush types on hand to experiment with.
Palette
A palette is essential for mixing and blending your acrylic paints. You can opt for a traditional artist’s palette or simply use a disposable palette pad for easy cleanup.
Water Cup and Rags
Having a water cup for rinsing your brushes and some rags for wiping them clean will help you maintain the integrity of your paint colors as you work.
Protective Gear
Don’t forget to protect your work surface with a drop cloth or old newspapers, and wear old clothes or an apron to avoid getting paint on yourself.
Step-by-Step Guide to Creating Canvas Art Prints
Now that you have all your materials gathered, let’s walk through the process of creating stunning canvas art prints at home:
Step 1: Prep Your Canvas
Start by laying out your canvas on a clean, flat surface. If your canvas is new, you may want to apply a coat of white gesso to prime it and create a smooth painting surface.
Step 2: Plan Your Design
Before you start painting, have a rough idea of the design or image you want to create. You can sketch it out lightly on the canvas with a pencil or dive right in with your paintbrushes.
Step 3: Apply the Base Colors
Begin by applying the base colors to your canvas. Use broad strokes and layers to cover the surface and establish the foundation of your artwork.
Step 4: Add Details and Textures
Once the base colors are dry, you can start adding details and textures to bring your artwork to life. Experiment with different brushstrokes and techniques to create depth and interest.
Step 5: Let It Dry and Seal
Allow your canvas art print to dry completely before sealing it with a coat of clear acrylic sealer. This will protect your artwork and give it a professional finish.
Tips for Creating Stunning Canvas Art Prints
To enhance your creative process and ensure your canvas art prints turn out stunning, here are a few tips to keep in mind:
- Experiment with Colors: Don’t be afraid to mix and layer different colors to create unique effects and shades in your artwork.
- Play with Textures: Use various brush techniques, sponges, or even palette knives to add texture and dimension to your canvas art prints.
- Embrace Mistakes: Art is subjective, and sometimes mistakes can lead to beautiful, unexpected results. Embrace any mishaps as part of the creative journey.
- Take Breaks: If you feel stuck or overwhelmed, take a step back and give yourself time to recharge. Returning to your artwork with fresh eyes can reignite your creativity.
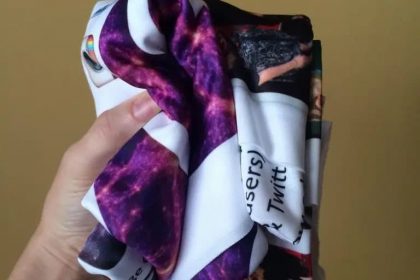
UV Printing on Canvas Material
Image Square Printing is equipped to handle your bulk orders. Input the size you want for your canvas prints while you’re ordering. Canvases can be placed both indoor and outdoor. More common stretched sizes are also available, please refer to the following link: Common sizes Stretched Canvas
- Visit our website and upload your photo today! or give us a call at 310-586-2333
- In Store pick up or lets us UPS ship them to you